Masala Peanuts, coated with gram flour, is a healthy snack when roasted in an air fryer or oven. This spicy and crunchy snack is gluten-free and is also low in GI along with many other benefits. What are those benefits? Let's see...
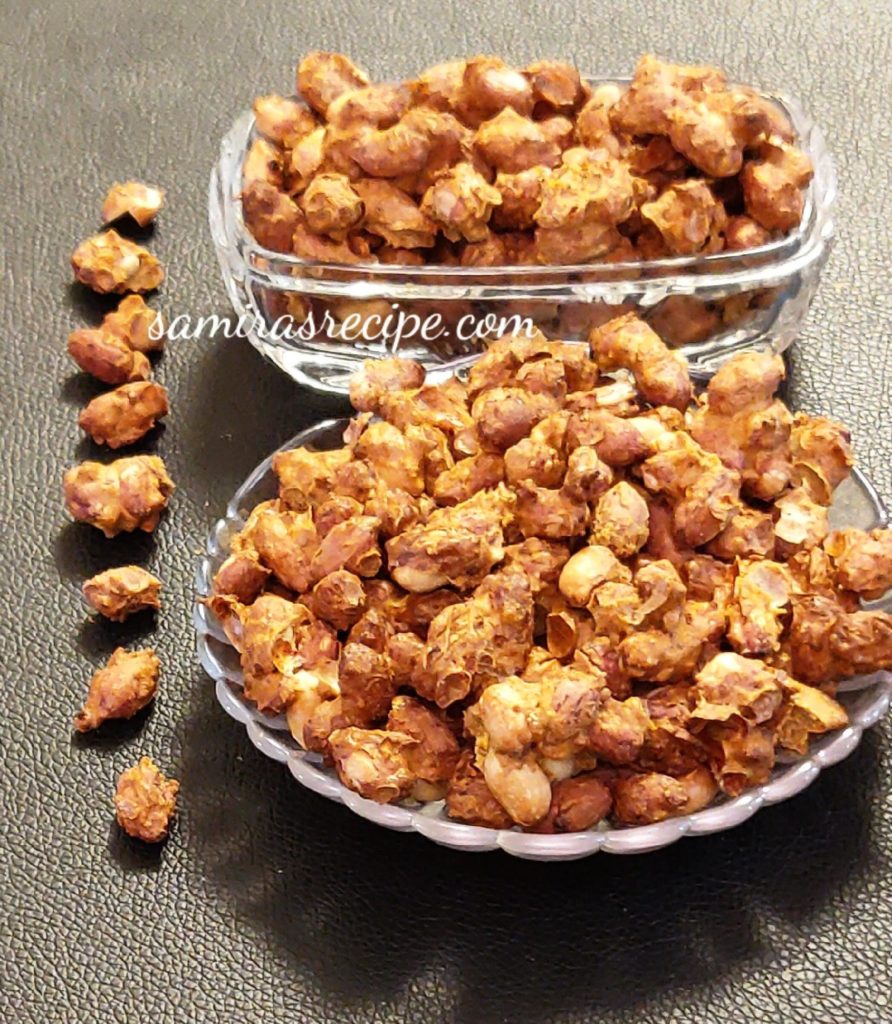

These Roasted Masala Peanuts, crispy n crunchy, wrapped in gram flour is an addictive snack. Try these at your own risk!
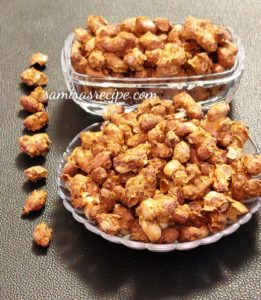
One more healthy snack from my kitty which I make very often and this is crispy-crunchy Roasted Masala peanuts coated with gram flour.
We have Peanut butter, peanut (groundnut) oil, roasted peanuts, fried peanuts, etc. Remember how much we all used to enjoy eating peanuts in winters by cracking groundnuts between our teeth and then munching on it. However, that culture seems to be weaning now as people neither have time to sit in the sunlight nor are inclined to peel each groundnut and then eat it. It is the most preferred nut in winters and is called poor man's almonds because of its low cost.
Earlier I used to make this in the microwave oven but for the past few months have been doing it in the air fryer. For my New year's get-together this year, I made these peanuts for munching in-between snacks and dinner and was loved by all. My sister-in-law even commented that I am making full use of my air fryer. This is very much true. For everything now, I first think of the air fryer. I am doing my roasting, baking, grilling, reheating, and many other things in the air fryer. You can check my Air fryer recipes post to see what all I do in my air fryer.
Why You Will Love This Recipe
- First of all, as you know peanuts come in the category of healthy snacks. And this healthy snack actually remains healthy if not fried. And in this recipe, we are roasting our peanuts. I used just one teaspoon of oil in 200 g of peanuts.
- Secondly, it is coated in gram flour, which again is a healthy flour and is gluten-free too.
- A good source of protein hence good for those on a vegan diet.
- Though high in fat but low in carbs and have a low GI which them an ideal choice for sugar patients.
- They are also good for those looking for weight loss foods. Yes, they aid in weight loss as these are very filling and thus curb your hunger for a long time.
- Gets ready quickly, in just 15 to 20 minutes. You can do it in microwave or Otg or in an air fryer. I roasted these in the air fryer as I find air fryer really useful.
- Shelf life is really good. You can make it in bulk and store it in an airtight container. Remains good for a month or so.
How To Make in Air Fryer
For making these, peanuts are first rinsed in freshwater and then rolled in gram flour and spices. These are rinsed so that they are coated properly with gram flour. Earlier (even now) people used to fry these. But as peanuts are already high in fat then just imagine how unhealthy they would become when fried. So, now the healthy version is to roast them.
As gram flour batter is quite thick and peanuts tend to stick to each other therefore you need to separate them manually when half done but that is not an issue and can be separated very easily.
I am sharing here the basic recipe of roasted masala peanuts, you can adjust the spices and the crunchiness as per your taste. When I say crunchiness, I mean roast it for more or less time as you think appropriate.
When taken out of the air fryer/oven, these are soft. Leave them in open for some time, just 5 minutes, and they become crunchy.
My other easy and quick snacks which you may like are
Roasted n Salted Cashewnuts
Roasted Poha Namkeen
Crispy Curd Bread Toasties
Step By Step Recipe
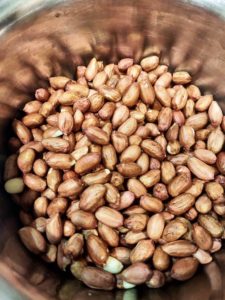
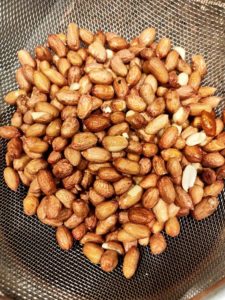
- Take raw peanuts, I have taken skinned ones.
- Rinse them in freshwater. You don't have to soak them. The purpose is to just make them wet.
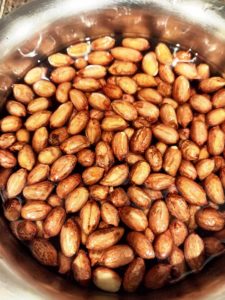
- Keep them in a strainer so that excess water drains out.
- Add gram flour, salt, red chili powder, whole spice powder (garam masala), chat masala, and oil.
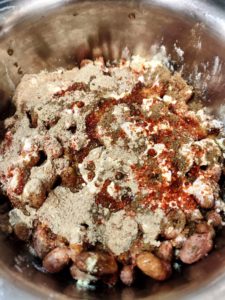
- Mix well, rubbing with hands so that all the peanuts are coated with the dry mix.
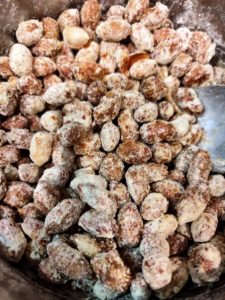
- Now start adding water, a little at a time, and rubbing side by side. We need very little water so that the gram flour sticks nicely to the peanuts.
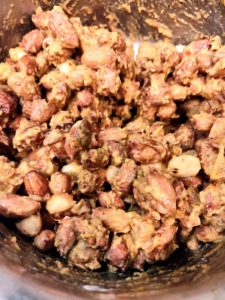
- Now spread these in the air fryer with hands, separating them as much as possible.
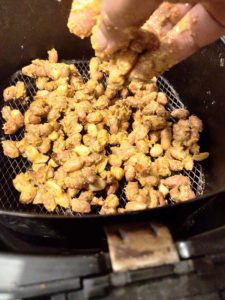
- Try to lay a single layer only and do not overlap much.
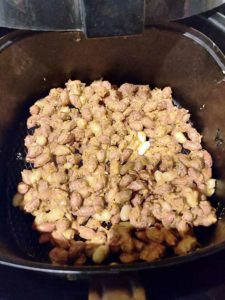
- Air fry for 2 minutes, then take out the basket, separate the peanuts lightly and shake the basket so that peanuts do not stick there. Again air fry for 3 to 4 minutes more.
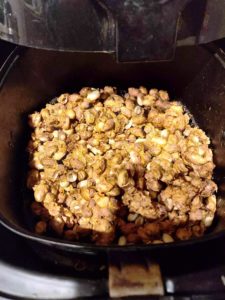
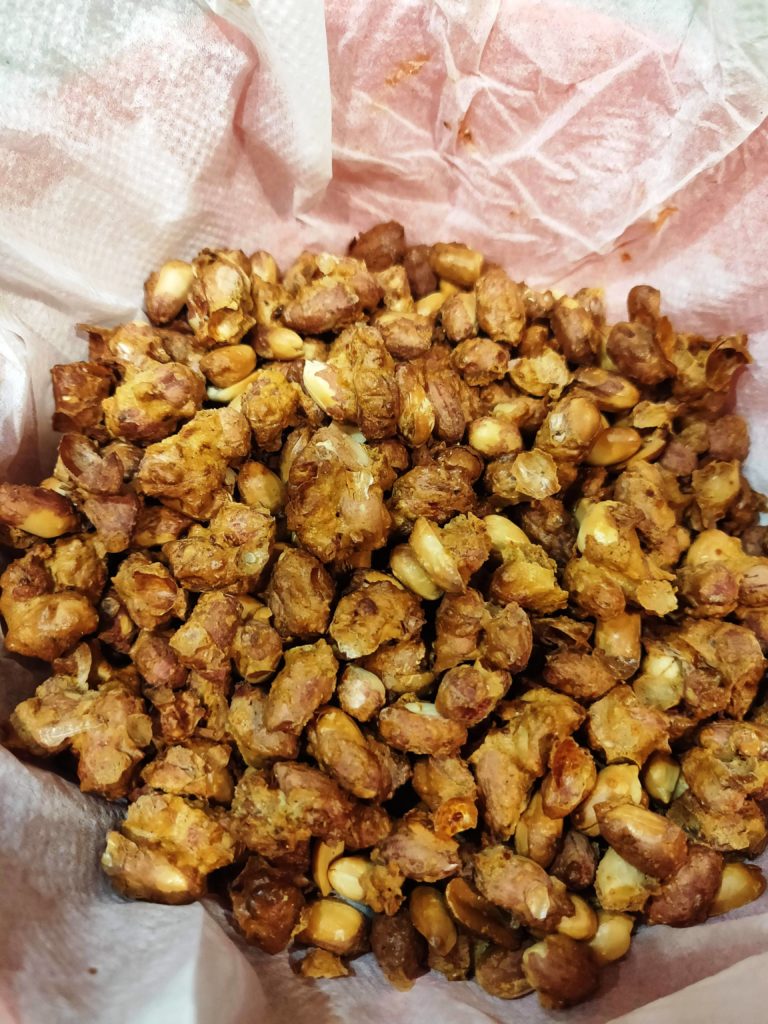
- Take out and spread these in a plate/tray and leave them open. Do not cover. After some time they will be crunchy.

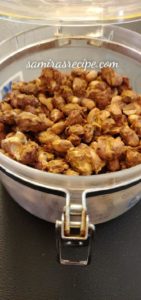
- Store them in an airtight container.
- Serve with love, tea optional.
Frequently Asked Questions
Q) Do I need to lay aluminum foil or a plate in the air fryer?
No, Put gram flour coated peanuts directly on the air fryer basket. (Check the photo in step by step recipe above)
Q) Can I bake these in the oven also?
- Preheat Otg at 180 degrees for 5 minutes.
- Grease the baking tray and lay peanuts.
- Roast for about 6 to 8 minutes.
Q) I need skinned or without skin peanuts for this recipe?
Both work well for this recipe.
Q) What is the shelf life of these peanuts?
You can store these at room temperature in an airtight container for upto a month.
LET’S CONNECT
I hope you have liked this Masala Peanuts recipe and will surely try it out for your loved ones. I will be happy if you share your creations on Instagram and tag me #samirasrecipediary there.
Thank you for reading this post. If you have liked this recipe then do let me know by leaving a comment below. Your feedback fuels my enthusiasm. You may share this post with your dear ones by clicking on the little buttons below. You may follow me on Facebook Pinterest too. for the latest recipe updates. Thank you!
Masala Peanuts Recipe
Ingredients
- 1 Cup 200 g Peanuts
- 1/4 Cup Gram flour (Besan)
- 1/2 teaspoon or as per taste Salt
- 1/2 teaspoon or as per taste Red Chilli Powder
- 1/4 teaspoon Whole Spice Powder (Garam Masala)
- 1/2 teaspoon Chat Masala, Optional
- 1 teaspoon Oil
- 6 to 7 Tablespoon Water
- Rinse peanuts and keep them in a strainer for a minute so that extra water drains out.
- Start preheating air fryer for 2 to 3 minutes at 180 degrees.
- Take rinsed peanuts in a bowl.
- Add gram flour, all the spices and oil.
- Rub nicely so that peanuts are very well coated with gram flour.
- As it is very dry at this stage, add water, little at a time so that gram flour mix sticks to the peanuts.
- Spray oil in the air fryer basket or brush it with oil.
- Using your hands, put gram flour coated peanuts on the air fryer basket, try to separate as much as you can. But don't struggle to lay each kernel separately.
- After 2 minutes, take out the air fryer basket, separate the peanuts which are clinged together.
- Continue air frying for another 4 to 5 minutes, tossing once in between.
- When the colour changes to golden brown, take out and leave them on a plate for some time. As they cool down, they will get crunchy.
- When completely cooled down, serve or store in an airtight container.
In Microwave Oven
- You can roast these in the microwave also. After step number 6, spread these in a microwave-safe plate. Do not overlap much, try to lay down a single layer only.
- Microwave for a minute. Take out, separate the peanuts.
- Again put in the microwave oven for 4 minutes, tossing after every one minute. This is very important or you will end up burning your peanuts.
- Take raw peanuts, skinned or without skin.
- No need to roast peanuts first.
- Take any oil which you use in your kitchen. I had groundnut oil also so I opted for it.
- You can make these in Otg also. Preheat Otg at 180 degrees for 5 minutes. Grease the baking tray and lay peanuts. Roast for about 6 to 8 minutes.
Happy Healthy Munching

Sounds good! I was wondering if you have any accessory to prevent food from flying into the air fryer fan. Thanks, Nanda
Thanks Nanda for liking it.
Let them play volleyball there.
Just joking.
Because of the fan things do fly esp foxnuts.
I will share a Tip with you.
When you take out the basket either for keeping the stuff or taking it out, just switch it off first for a second or so. When the basket goes inside, again switch it on.
Or Use a container with lid but that would kill the capacity unnecessarily.