Jowar cookies is one of the easiest and tastiest recipes of cookies. Anybody can bake these as the process is simple and very few, basic ingredients, namely flour, jaggery and Ghee are used.
These are my third gluten-free cookies, first two being Ragi lavash Crackers and Bajra Cookies and I take pride in sharing that all these are a hit and are regular at my place.

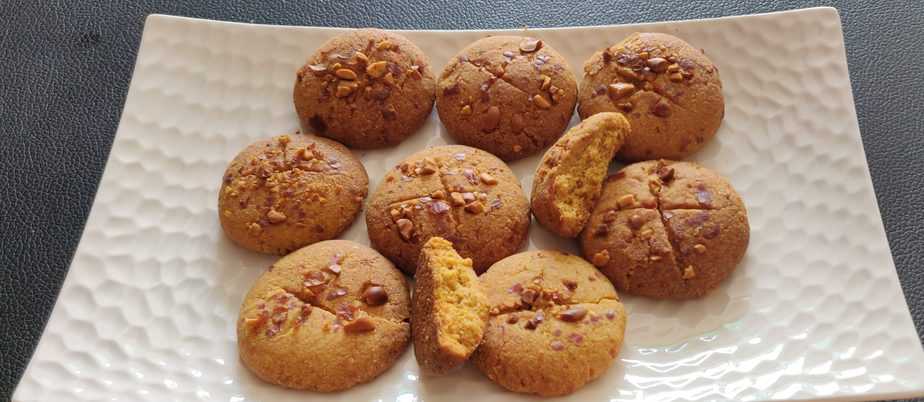
You may put some jewels of nuts too...
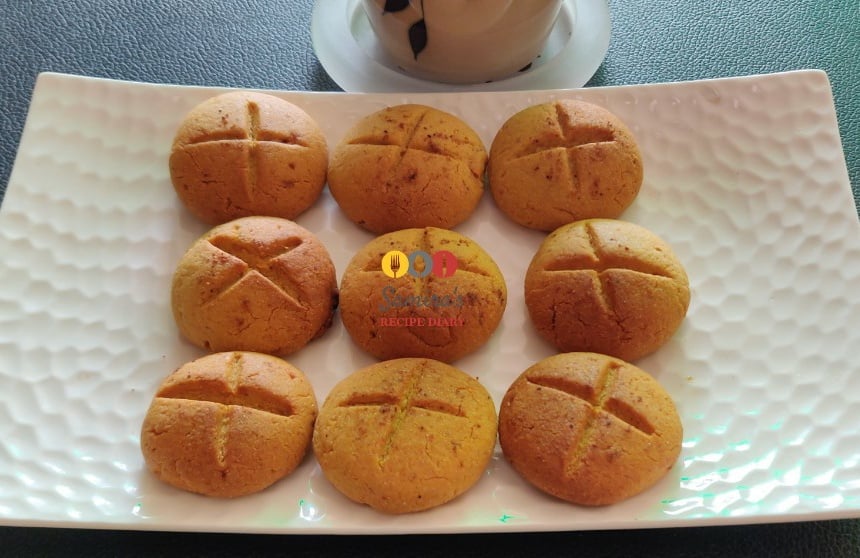
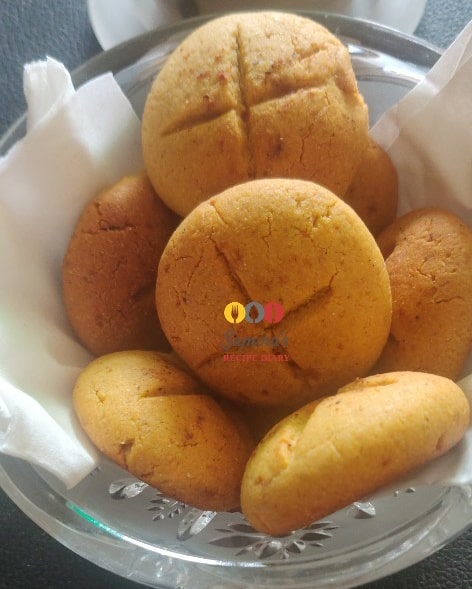
Jowar Nan Khatai
Jowar Atta is a regular at my place now. Apart from making Jowar chapatis, I also use it for making Jowar Koki and Jowar Litti Chokha.
I have used Jowar flour in baking Gluten-free Tutti Fruiti Muffins.
When I made these Indian cookies, as they are commonly called, the results were too good. Without any efforts or special ingredients, these cookies come up beautifully well. These soft yet crunchy bites were liked by everyone at my place.
A Little About Jowar (Sorghum)
Like all other millets, Sorghum is too packed with nutrients and minerals. But unlike other millets, Sorghum is closest to wheat in terms of taste and texture. It can be replaced for wheat in a much easier way than any other millet.
This millet is called Jowar in Hindi, Sorghum in English and Cholam in Tamil and Malayalam. You can read more about this millet here.
Brownie Points Of My Jowar Nan Khatai
- Gluten-free
- No Baking Powder or Baking Soda Used
- No Butter or Oil used
- No Refined Sugar Used
- Easy To Make
- Just 4 ingredients, easily available in all kitchens
- Fiber-rich
- Great in taste
How To Make Jowar Nan Khatai Aka Jowar Cookies
I followed my own recipe of Nan khatai for making these. To make these, I used more or less the same recipe but used only 2 flours, namely Gram Flour (Besan) and Sorghum Flour (Jowar flour). Everything else remained the same. And yes, I used jaggery powder this time.
I want to point one small point in this regard. Always, pass the jaggery powder through a sieve before using it or run it in the grinder for few seconds. This is because there are tiny grits which spoil the texture of the cookies.
This recipe is very easy but it just wants you to take one step, or you can say some preparation. And that one step is melt ghee, freeze it and then beat it. Yes, Ghee is there in every kitchen, but you need to melt it first, on stove top. Then keep it in refrigerator or freezer (depending upon time you have). And we use this set ghee for making our Nan Khatai.
Step By Step Recipe of Jowar Cookies
- Take ghee (clarified butter).
- Melt it on medium flame.
- Let it cool and then keep in the freezer for an hour or so till set.
- Keep it in the freezer, if you are in a hurry.
- What we want is set ghee.
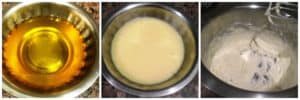
- Take it out, wait for a few minutes and beat it with a spoon or wire whisk for 4 to 5 minutes till fluffy.
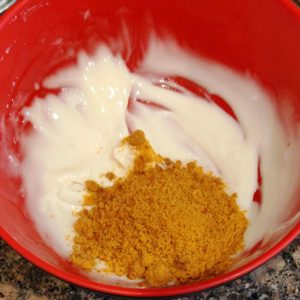
- Sift jaggery powder.
- Add sifted jaggery powder and beat again for a minute till colour changes and the mix gets light and fluffy.
- Mix together gram flour, Jowar flour, nutmeg and salt.
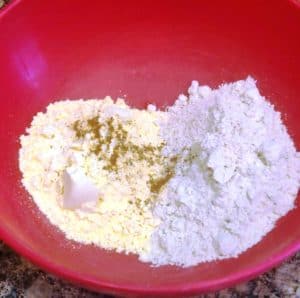
- Add the dry mix of flours into the ghee-sugar mix.
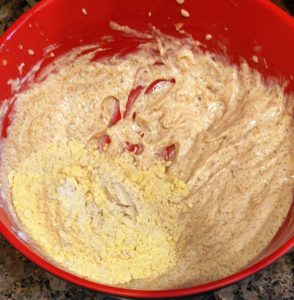
- Just gather everything into a dough. You may feel that the mix would be dry but it will be just appropriate. Do this exercise with your hands rather than a spatula. Still, if the dough doesn’t come together and is very crumbly then add little curd.
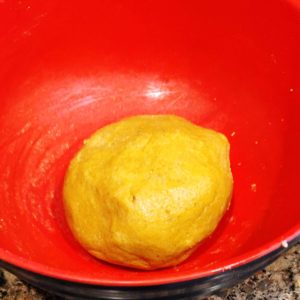
- Cover it and keep it in the refrigerator for an hour.
- Start preheating the oven at 160 degrees. Use both the rods.
- Grease the baking tray and do not preheat it.
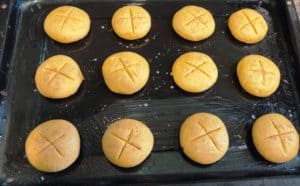
- Make small balls from the dough, flatten it and keep it on the baking tray.
- Now make a cross on these discs with a butter knife. Alternatively, you can make a dent on it. The choice is yours.
- Brush milk on these for the glaze. Sprinkle cardamom powder or nutmeg and bake.
- Use both the rods while baking and keep the tray in the middle rack.
- Check after 12 minutes and bake further accordingly.
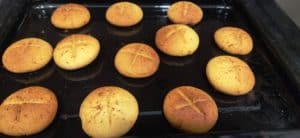
- When golden brown, carefully lift each with a spatula and keep on a wire rack to cool completely.
- Once completely cool, store in an airtight container.
- Serve with love, tea optional.
Baking Jowar Nankhatai In Air Fryer
- Preheat air fryer at 180 degrees for 5 minutes.
- Take out the basket, keep the crackers in it and return it to the air fryer.
- Reduce the temperature to 160 degrees and bake the crackers for 15 minutes approximately.
- No need to flip the crackers in between.
- When the colour changes and sides get golden brown, they are done.
- You may check my Kuttu Atta Cookies in air fryer for step by step photos.
Baking Nan Khatai In Kadhai
For this, please refer my Nan Khatai post for seeing the detailed steps. Click here to see if interested.
Frequently Asked Questions
Q) What is the Secret of Making Crisp Nankhatai
The secret is ghee. The process of melt-cool-freeze-beat, is very important as this only lends crispiness to these cookies.
Keeping the dough in the refrigerator gives it resting time and makes the dough easily workable.
Of course, yes. To see the method of baking on gas stove check my Multigrain Crackers Recipe which are baked in a Kadhai.
Again, yes. Check Kuttu Atta cookies (Buckwheat cookies) to see the process in detail.
Let's Connect!
I hope you have liked this healthy recipe of Jowar cookies and will surely try it out for your loved ones.
Thank you for reading this post. If you have liked this recipe then do let me know by leaving a comment below. Your feedback fuels my enthusiasm. You may share this post with your dear ones by clicking on the little buttons below. You may follow me on Facebook Pinterest Twitter Instagram (#samirasrecipediary) too. for latest recipe updates. Thank you!
Gluten-Free Millet Cookies
Made with Sorghum flour, this is one of the easiest and tastiest recipes of cookies
My Cup measures 240 ml
- 40 g Ghee ( Clarified Butter) (Ghee)
- 50 g Jaggery Powder
- 1/8 tsp Green Cardamom Or Nutmeg Powder
- 1/2 Cup Besan (Gram Flour)
- 1/2 Cup Jowar Flour (Sorghum Flour)
- Pinch Of Salt
- 1 Tbsp Milk Or Curd (If need be) (For Brushing on Top)
Instructions
-
Take ghee (clarified butter). Melt it on medium flame. Let it cool and then keep in the freezer for an hour or so till set. Keep it in the freezer if in a hurry.
-
Take it out, wait for a few minutes and beat it with a spoon or wire whisk for 4 to 5 minutes till fluffy.
-
Sift jaggery powder or powder it finely in the grinder to ensure there are no lumps in it.
-
Add this jaggery powder and beat again for a minute.
-
Mix together gram flour, sorghum flour, nutmeg and salt.
-
Add the dry mix of flours into the ghee-jaggery mix.
- Just gather everything into a dough. You may feel that the mix would be dry but it will be just appropriate. Do this exercise with your hands rather than a spatula. Still, if the dough doesn’t come together and is very crumbly then add little more curd.
- Cover it and keep it in the refrigerator for an hour.
- Start preheating oven at 160 degrees. Use both the rods.
- Line parchment paper on the baking tray. Do not preheat the baking tray.
- Make small balls from the dough, flatten it and keep it on the baking tray.
- Now make a cross on these discs with a butter knife. Alternatively, you can make a dent on it. The choice is yours.
-
Brush milk on these for the glaze. Sprinkle cardamom or nutmeg powder and bake.
- Use both the rods while baking and keep the tray in the middle rack
- Check after 12 minutes and bake further accordingly.
- When golden brown, carefully lift each with a spatula and keep on a wire rack to cool completely.
- Once completely cool, store in an airtight container.
- Serve with love, tea optional.
Baking In Air Fryer
-
Preheat air fryer at 180 degrees for 5 minutes.
-
Take out the basket, keep the Nankhatai in it and return it to the air fryer machine.
- Reduce the temperature to 160 degrees and bake these for 15 minutes approximately.
- No need to flip in between.
- When the colour changes and sides get golden brown, they are done.
Baking In Kadhai
- Keep a wide kadhai on the gas stove. Lay salt/sand. Keep a stand on it. Ensure that the stand doesn’t have any rubber hooks in the base, else they will melt in the process of baking and spoil your kadhai.
- Cover and preheat for 10 to 15 minutes on medium flame.
- Keep a plate and keep it in the preheated kadhai. Or cover the stand with parchment paper. Choose a plate which can be held with tongs. This is because the kadhai is really hot and it is very difficult to do with hands. Like I used my pie dish for this. You can even use cake pan.
- Cover and bake these on sim gas for 25 to 30 minutes.
-
Baking time will also depend on the thickness of your kadhai. Like I used a very heavy bottomed kadhai and it took almost 45 minutes. So, do not opt for very heavy bottomed wok.
Testimonials
Can you please give i ingredients quantity in cup or tablespoon size instead of grams.
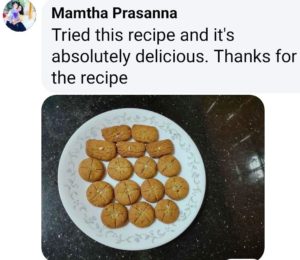
Excellent…..I tired it👍
Thank you so much for trying it out and sharing your lovely feedback.